Art washes from the soul, the dust of every day life. 

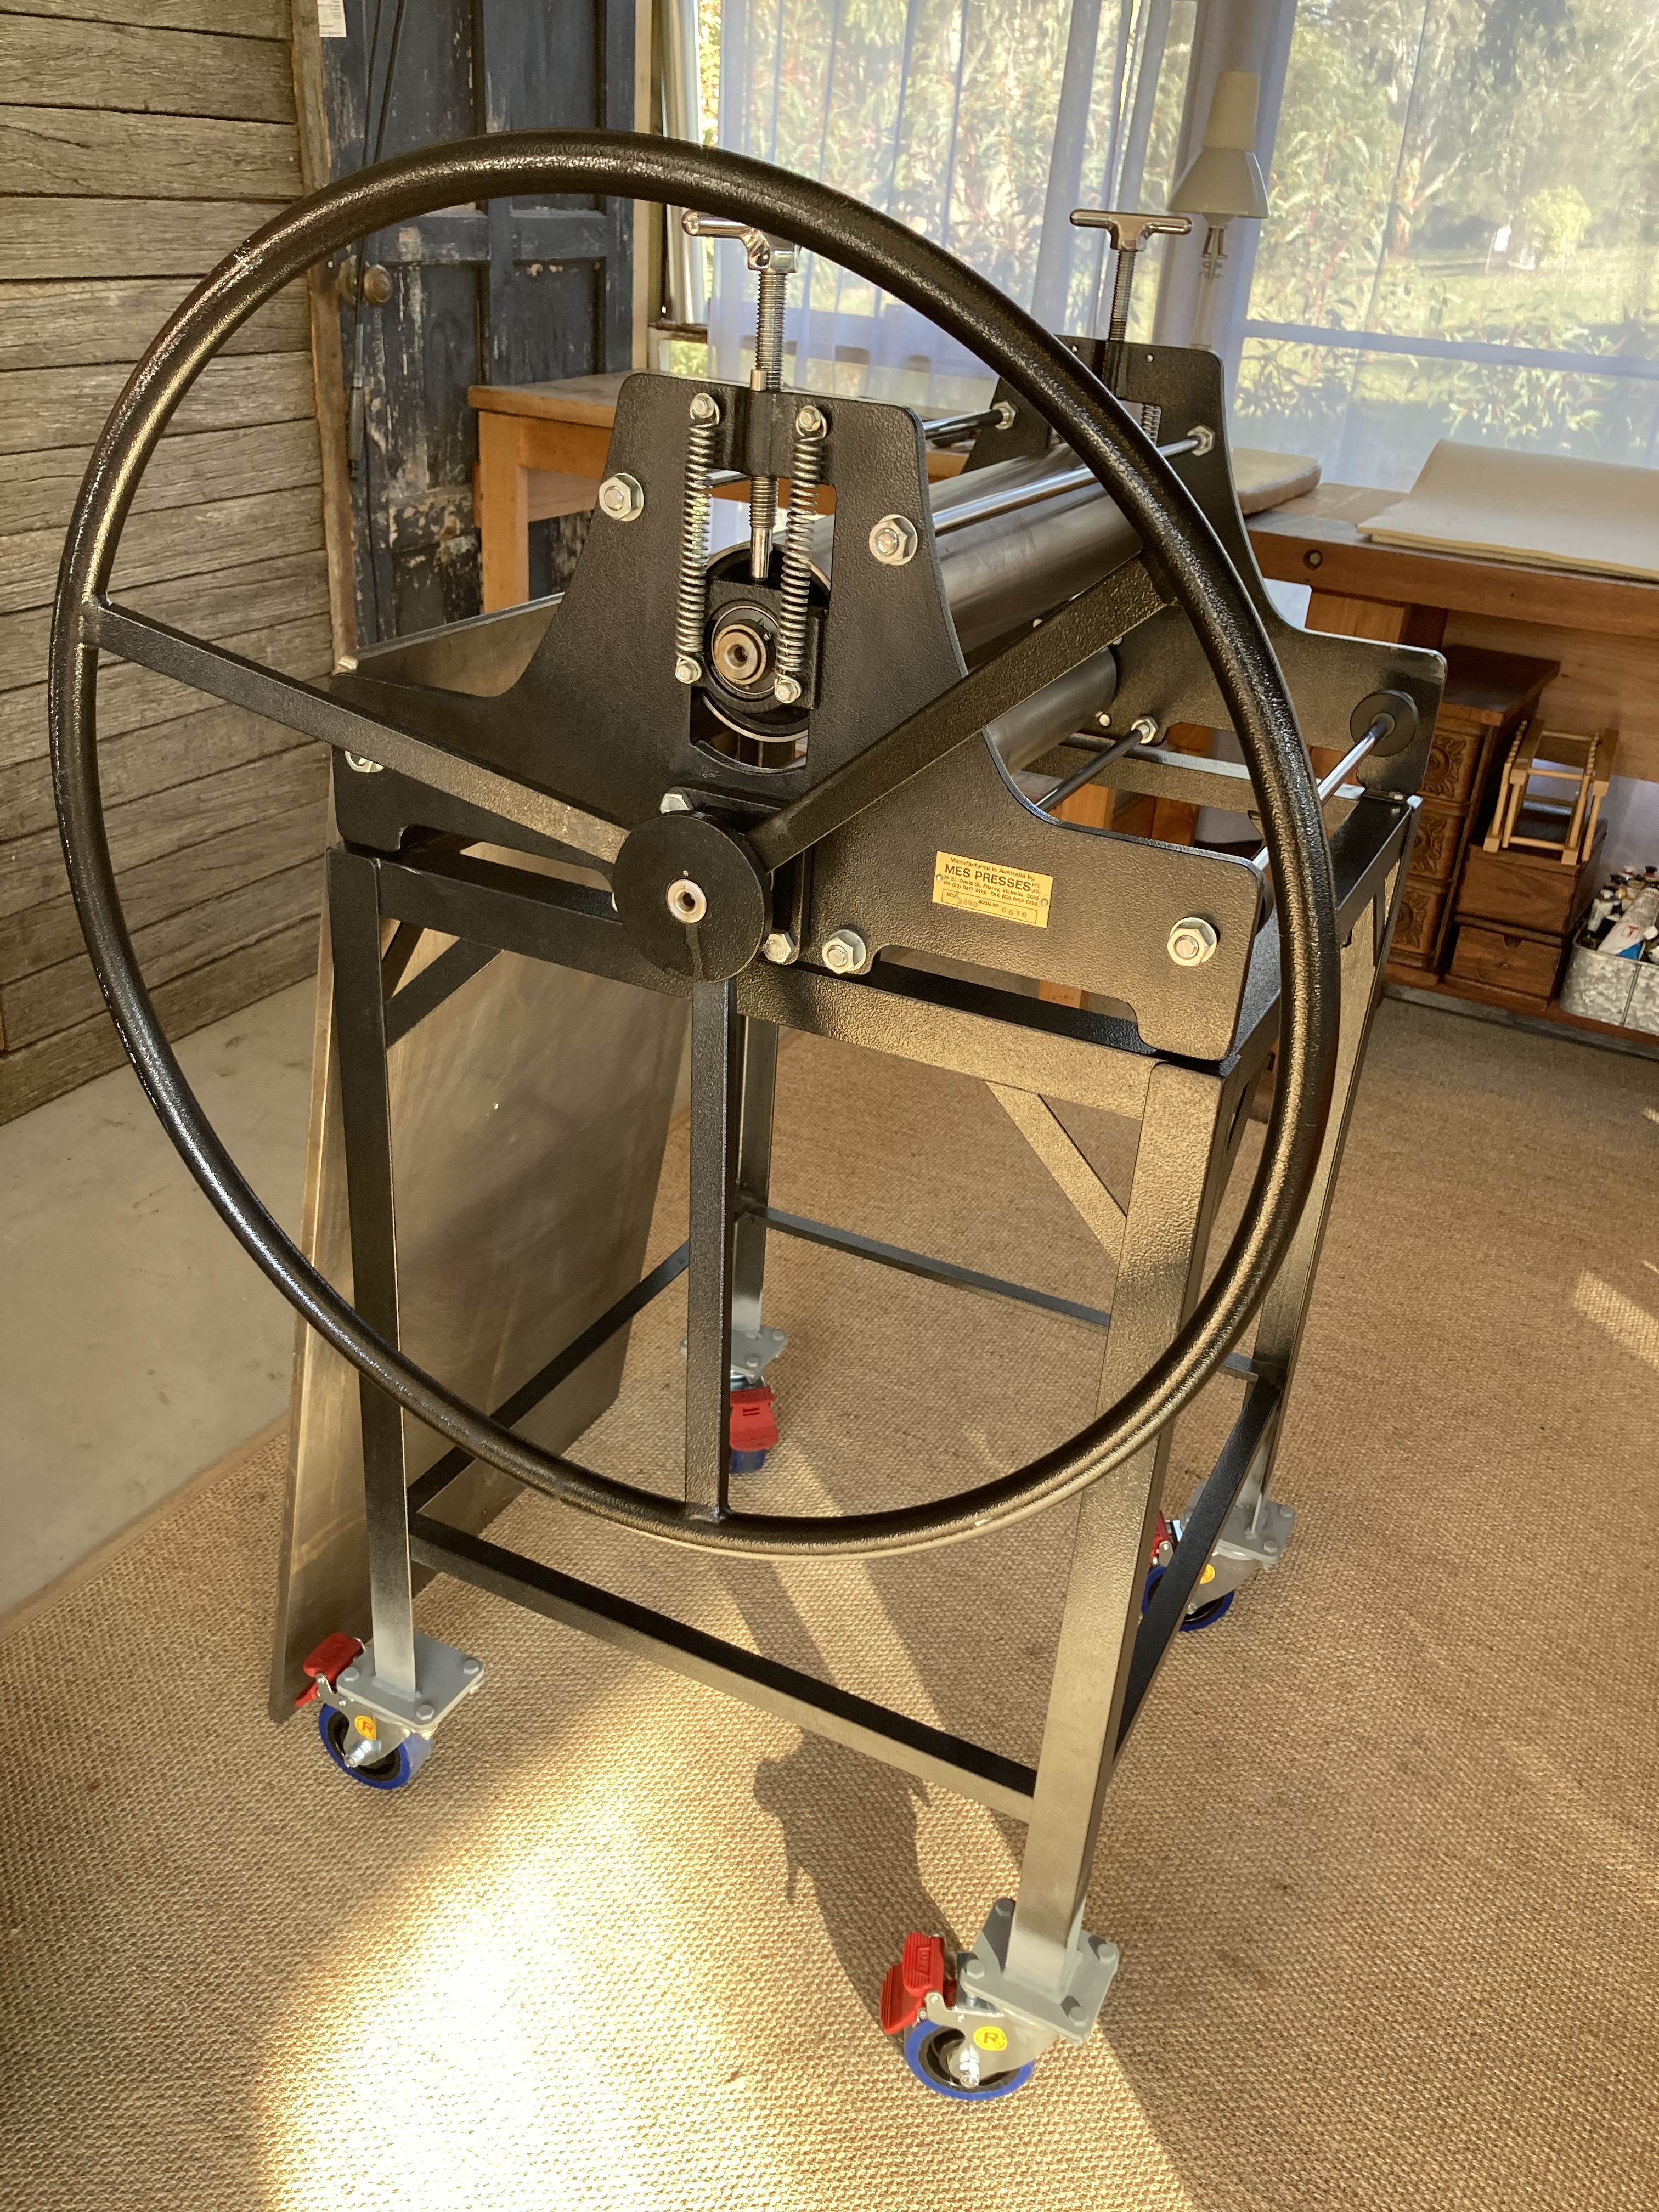
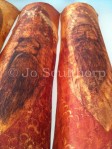
I just sold my beloved etching press & I feel like I sold a part of me.

This post is a bit personal but I want to start talking about infertility, especially to other women and men who are going through it. It’s usually a taboo topic.

A deep sadness in my life is the everlasting, permanent impact of infertility. My fertility was stolen from me by ovarian cancer when I was in my early 20s. Infertility brings deep disappointment & crippling grief …. & It’s a really strange kind of grief because you are grieving for a person that doesn’t exist & a life that will never be.

I’m a cancer survivor but the consequence of infertility rocked the foundations of my life as having kids & creating my own family unit was a path I wanted to tread. Family is the cornerstone of society. Without family, who are we ? Without family there are none of the usual milestones that mark our lives.. Without family, you are on your own solitary path through life.

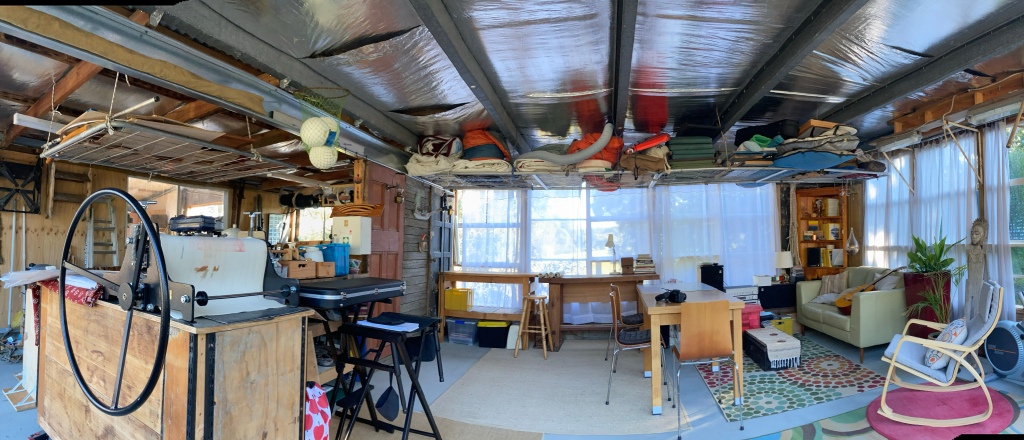
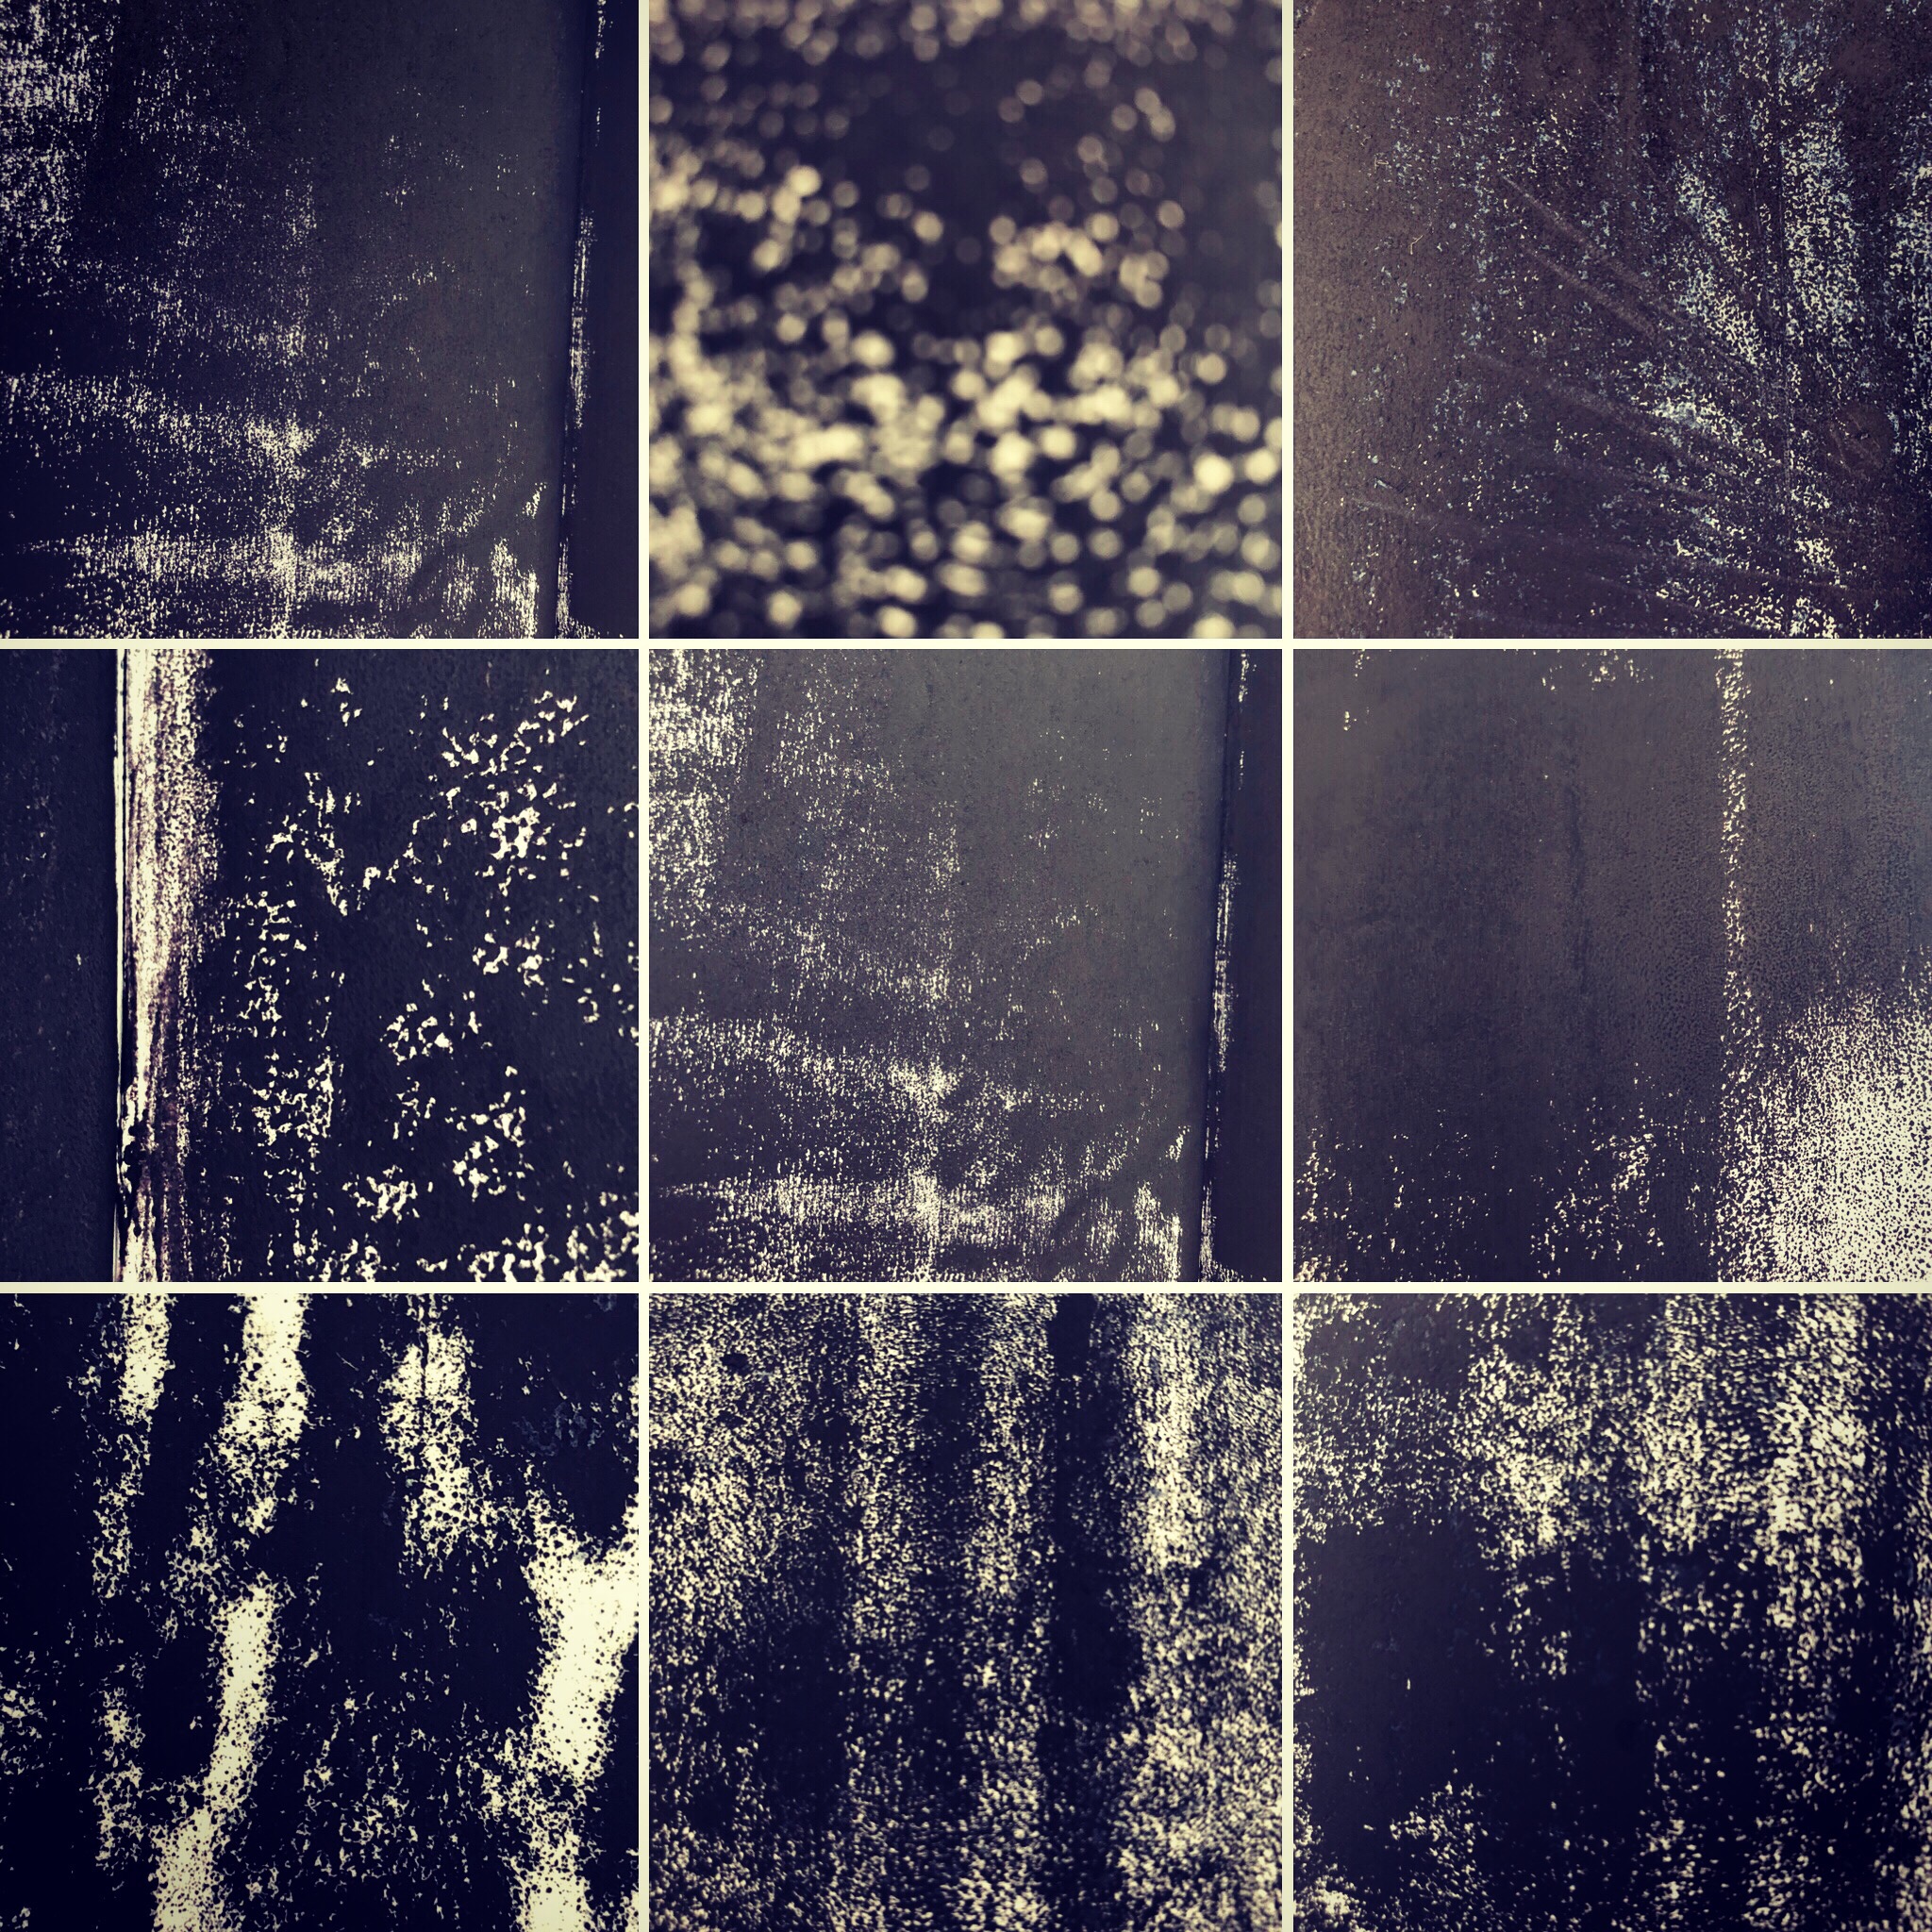
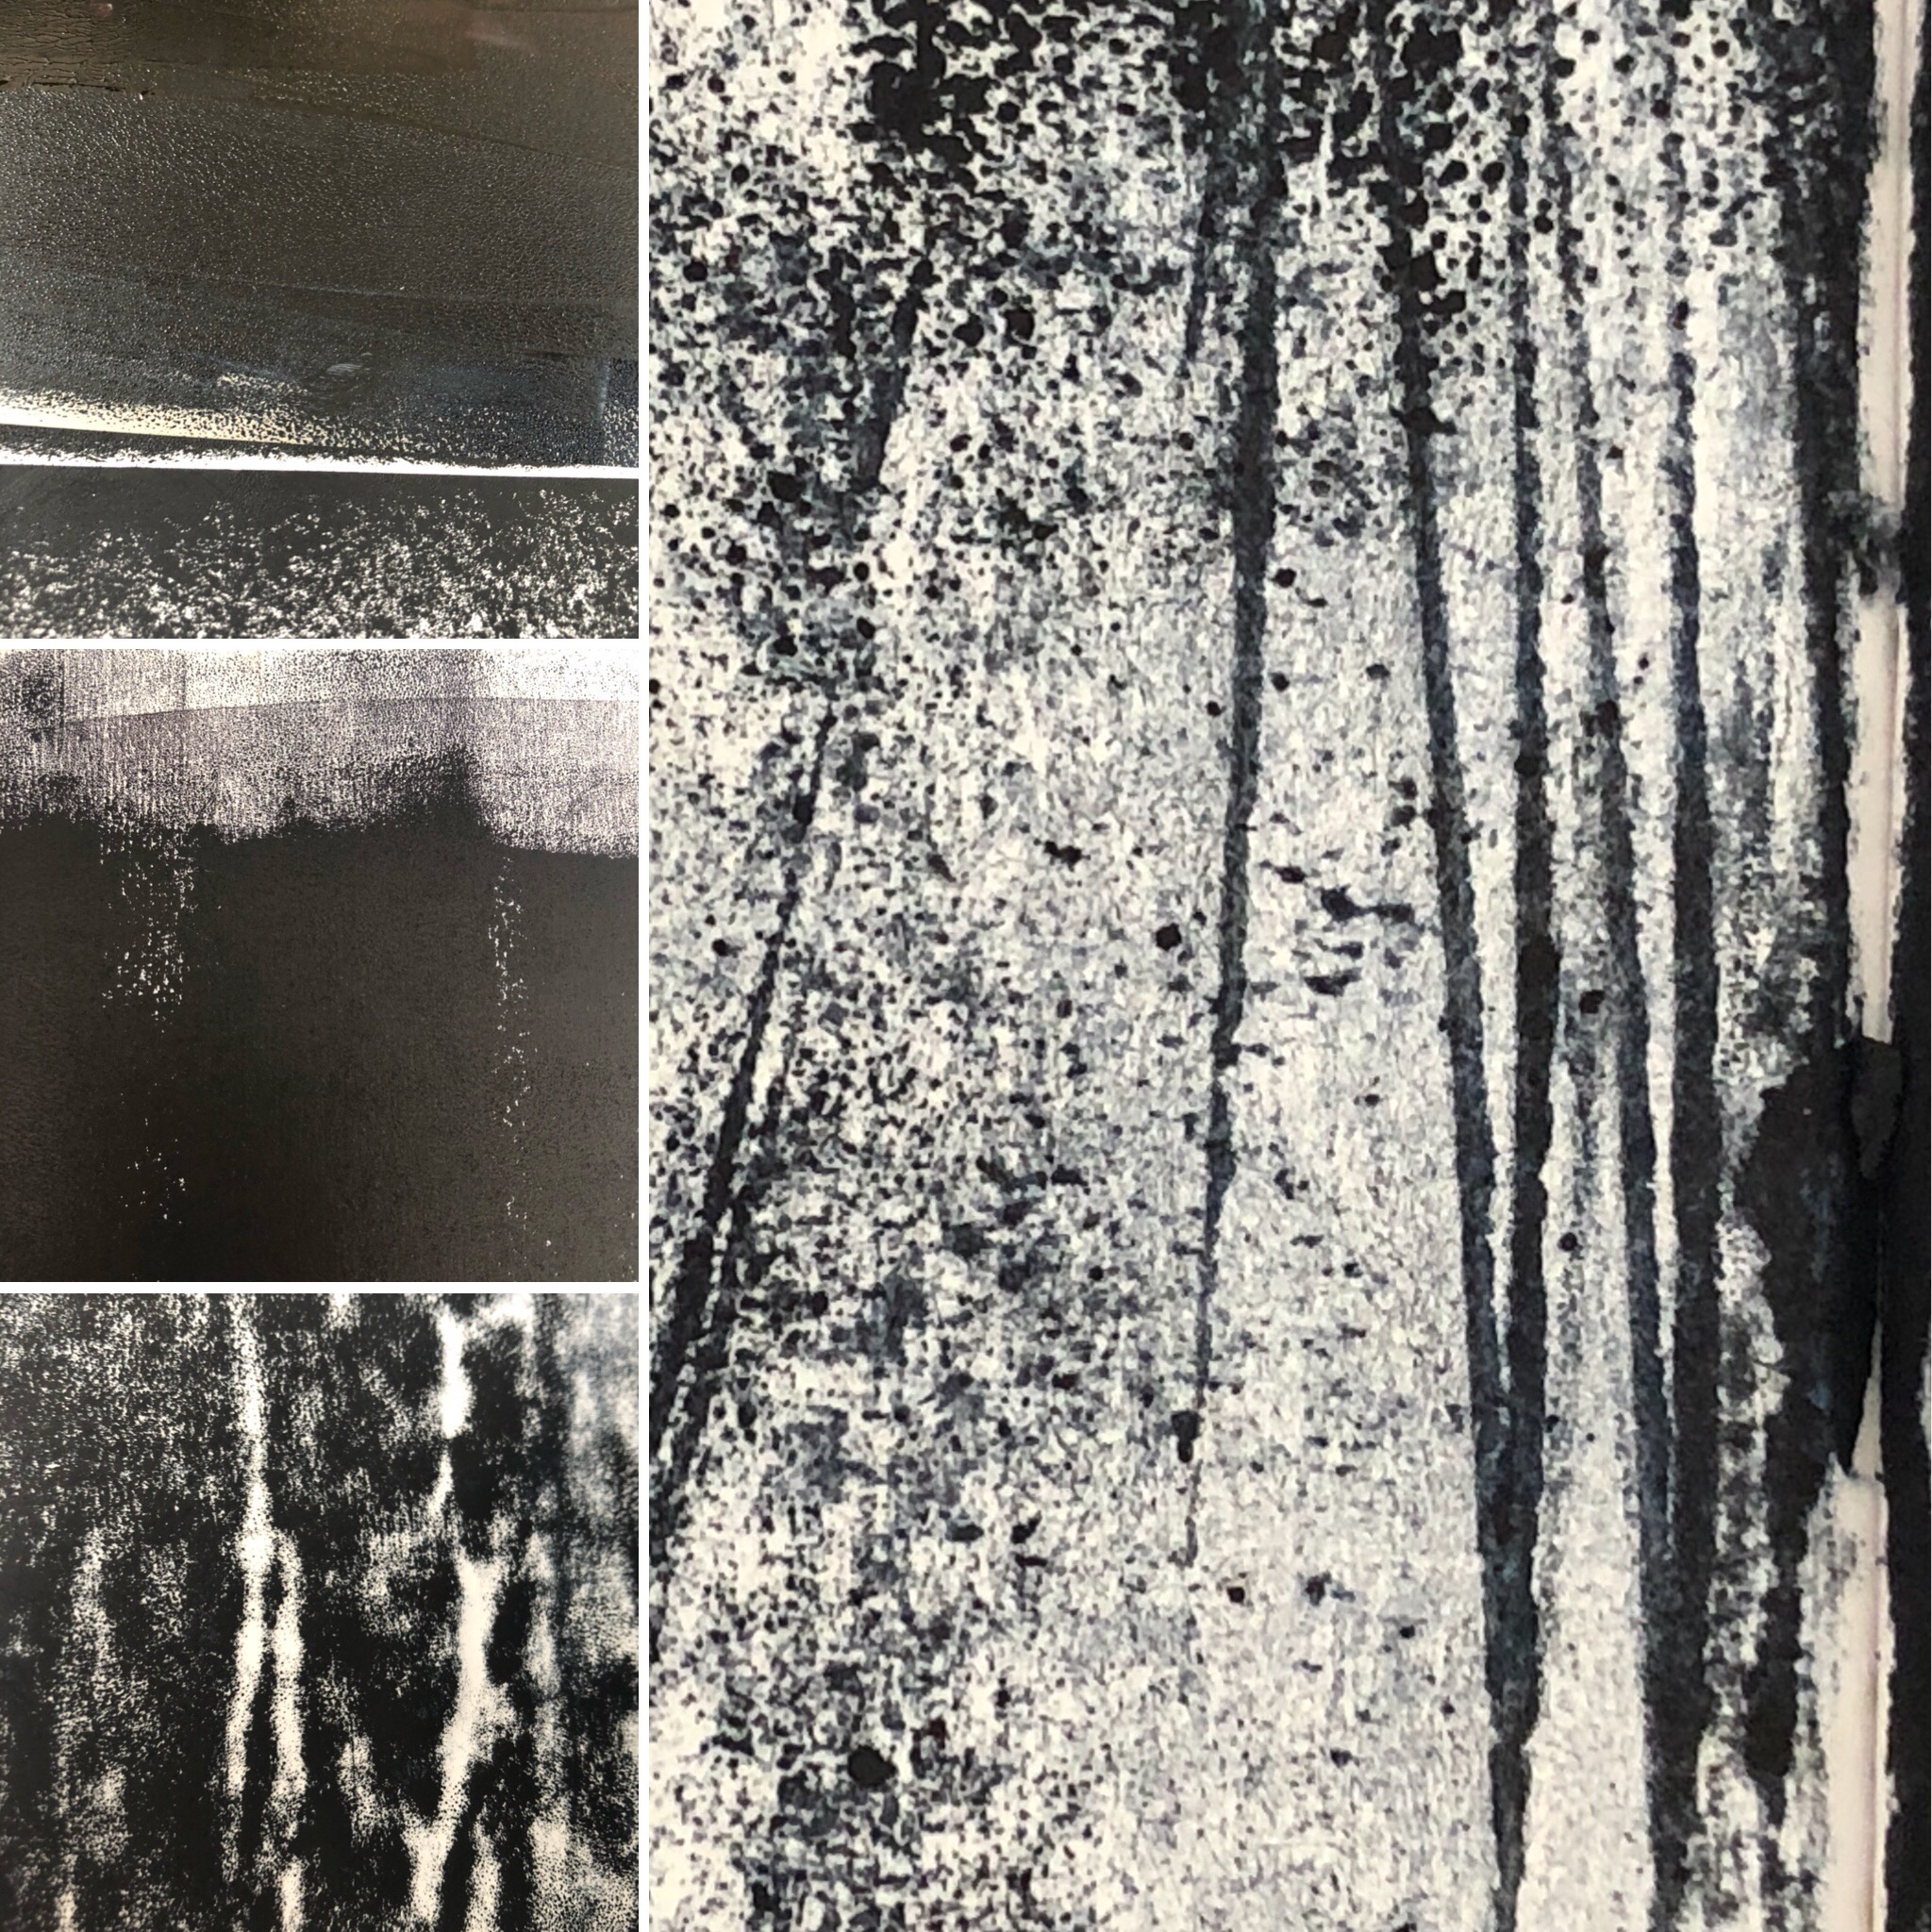
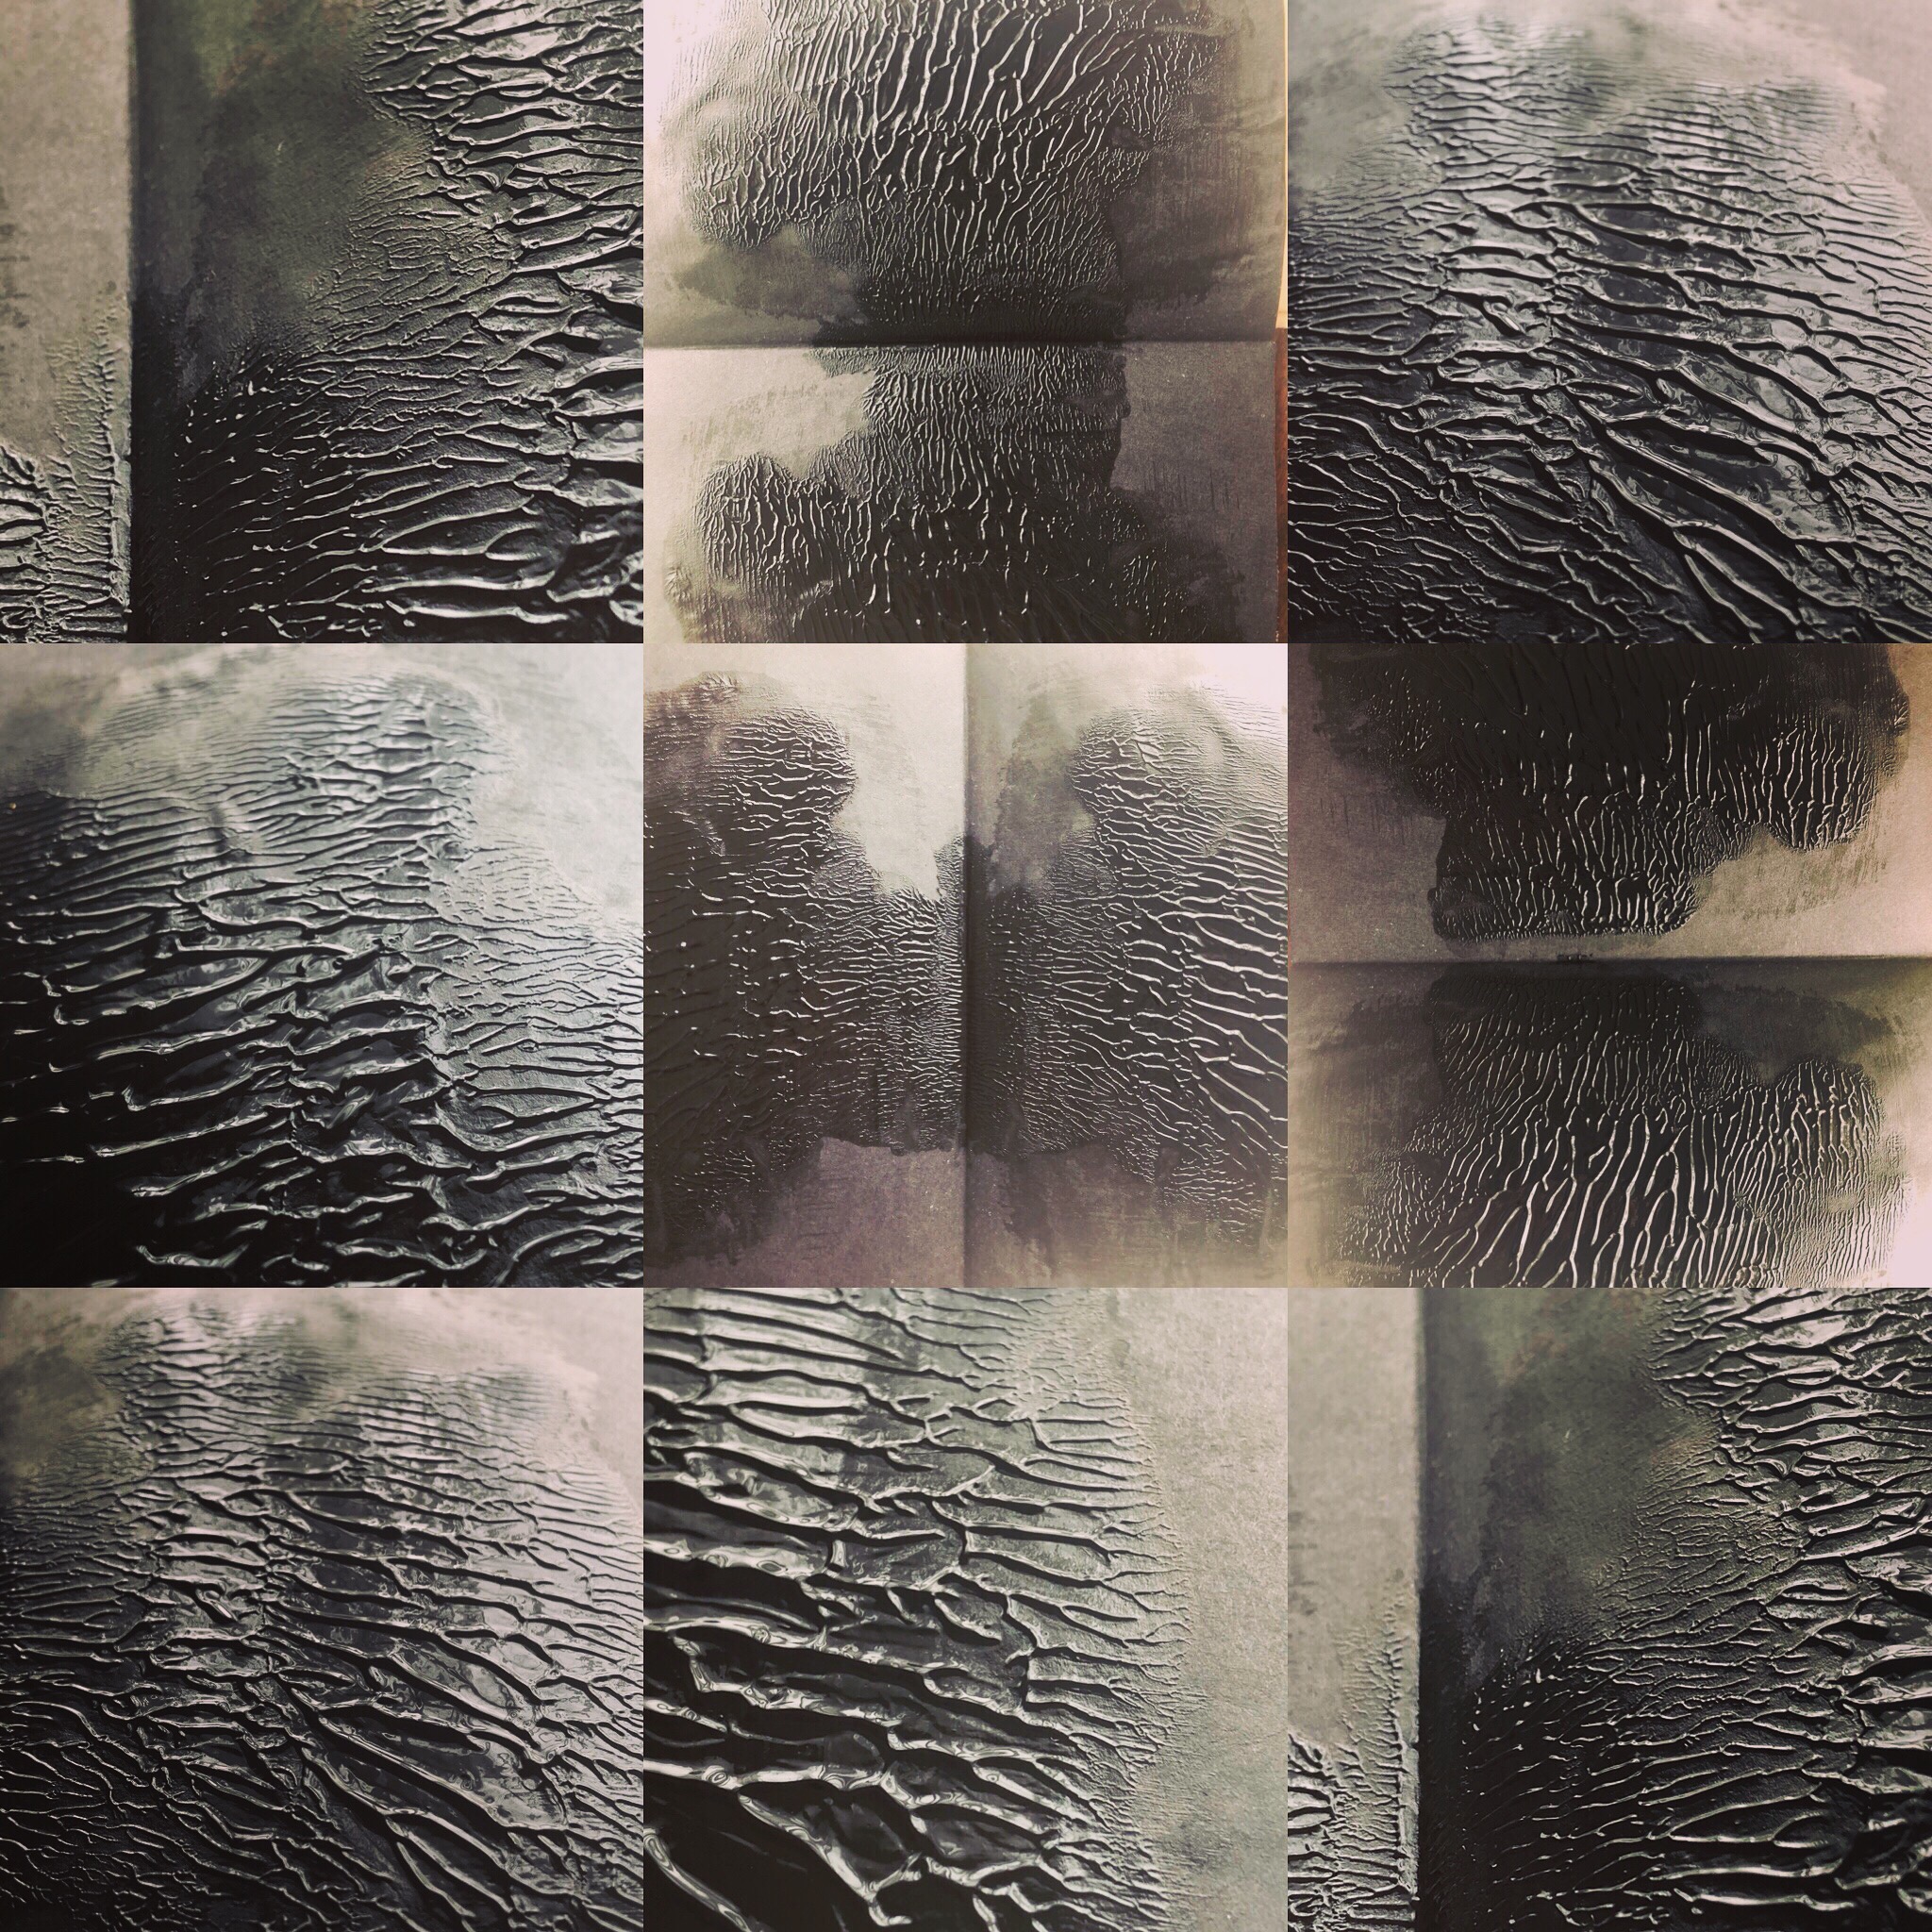
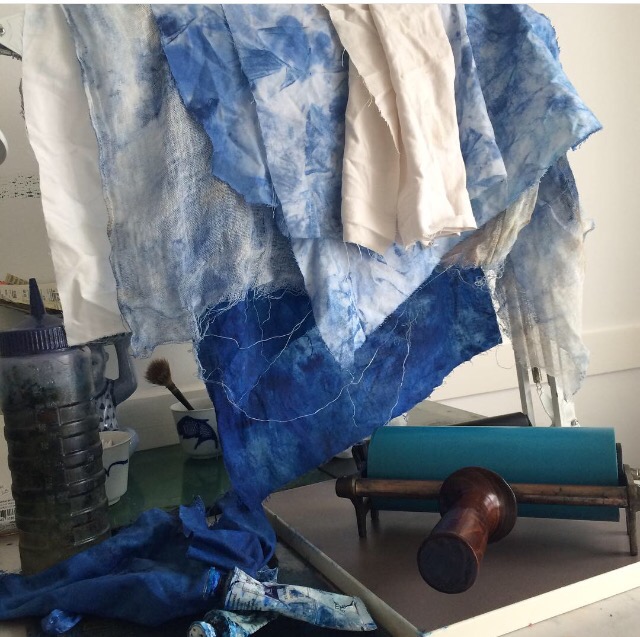
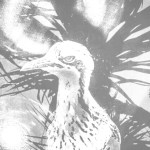
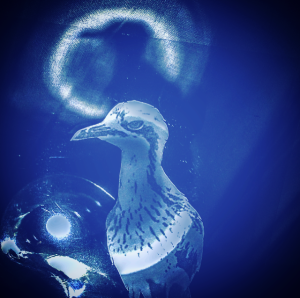
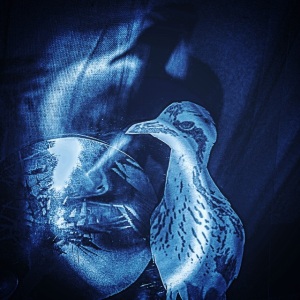
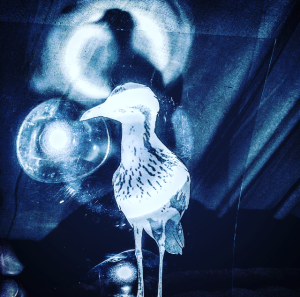
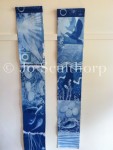
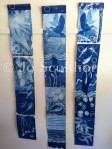
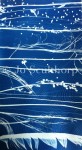
To cushion this incredibly hard blow, I knew I had to find an an alternative route through life… so I embraced my art and printmaking. In my small home based printmaking studio, creating my art was my saviour and healer. When all my friends and family were having babies & raising families, art helped me through the grief and pain of infertility.

My studio space, sadly, no longer exists and my press, tools & inks are gone due to no longer having a home. Making art & my Printmaking is my alternative route through life and I miss it terribly. The consequences of infertility impacts my life deeply on a daily basis & I know I will have to sometime, somehow reinvent my studio space & resurrect my printmaking/art practice on a mobile & smaller scale to fit with my current transient life situation. Stay tuned.

“Art washes from the soul, the dust of every day life” Pablo Picasso

New Studio space

My press is in pieces. It’s at the steel fabricators and I’m finally getting wheels on it for ease of manoeuvrability. I lost my beach side home during Covid and I’m now a housesitter!! This is my current temporary studio space. I’m just in the process of setting it up and I’m ready to begin again once my press is back together and on its frame with wheels. So very grateful to have a creative space to use. Watch this space. Massive creative burst coming on !!!!

Comforting Black ink 

I haven’t had the ink out for a while. I’m  getting some page backgrounds finished.  I’m Working in Black Ink for a little Artists Book about Aphantasia for The Sketchbook Project.  

The  House smells like ink. Creative mess everywhere. Inky hands. Making for myself. No pressure to produce something “good” or “likeable” or “for sale” …. Just enjoying the comforting black ink, the  spontaneous creative journey & getting lost in the simple mark making 🖤


Cyanotype on ceramic surfaces – Test 1

I’ve been playing with clay  for the past few months with lots of grand ideas swirling around in my brain about getting Prussian Blue cyanotype on to porcelain vessels. 

I got all inspired for a little afternoon experiment after my friend Kim  ( http://frogpondsrock.com/ceramic-gallery-works/ )  put a call out for me on facebook to her ceramic network for advice on the ‘how to’ of getting cyanotype on to clay !! 

The Sun was strong this afternoon so I thought I’d just start with basics & try and just get the solution onto a few bisqued   porcelain beads & not bother with imagery to begin with.  My aim with this experiment was to: 

1)achieve a strong & stable Prussian Blue. 2) check to see if the clay was porous enough to take the solution &  3)See wether all the usual cyanotype rules would apply

I used some old solution that has been stored well in the dark & my little experiment was very successful.  

I managed to achieve a good Prussian Blue (even in the 4pm sunlight & with old solution!)  Midday sun is usually the best exposure time & freshly mixed solution is best.  

The exposure time is possibly longer than a paper surface & I think the washout time is longer too.  

 I bound one bead in thread to see if the same principles of cyanotype  applied with good clear results  ie: “if it lets the light through, it will turn blue, if it blocks the light out, it’ll stay white”  It was very successful ! photograms will work very well on a clay surface  

I’m incredibly excited about combining my cyanotype printmaking & ceramics and I can’t wait to conduct a few more initial experiments with photograms & digital negatives & get some imagery happening.   I’m not sure, however, that it will fire.  I still have to do much research about firing cyanotype.  

Here’s a few photos – 

These are the southern ice  porcelain beads I made. They have just been bisque fired (I’m not sure what temp as I’m such a newbie to ceramics & someone else packed the kiln !!)


Into the solution for a short soak 

Out into the Sun 

Strong Prussian Blues beginning to appear after about 6 minutes – (oops a bit of staining on the front step!)

 Yessssss- Beautiful Prussian Blue achieved

Washout ….. I have a feeling that they may even need soaking for better & more stable results ? If you don’t get all the solution out – the exposure process continues, the printed image blurs & the white areas  become blue as well

This is the bead that I’m most excited about. I bound it with thread. The  result  tells me that fine images from digital negatives & photograms  are going to be possible & very successful on bisque ware 

The colour is holding well – doesn’t scratch or rub off & seems to be deepening as it develops, which is usual for cyanotype. 

As an after thought, I decided to soak the test beads. This is to  entirely remove the solution that seemed to keep seeping out of the porous clay & dulling the whiteness of the white areas.  Soaking will stabilise the cyanotype & complete  the developing process correctly.  I know this as I’ve had problems with unstable cyanotypes on paper  in the past & I’m guessing the same rules would apply to clay bodies. 


I’m all fired up & excited about my ideas now.  Next sunny day, I will try a few photograms for test 2.  It’s going to be a bit of a journey as I’ve only just dipped my toe into the ceramic world with a recent 10 week course. There’s  a lot to learn.   Luckily I have a pottery wheel here at home  on loan from the fabulous Kim, so I am also trying to develop my throwing skills. 

Stamping & signing


I designed a monogram for myself this year & with the help of graphic designer Sarah Owen  & Roeszlers Engraving in Melbourne, I had an embossing stamp made.  It was a costly process but well worth it in terms of being able to put my mark on my work in a professional manner.  The ‘Bird on  Rock’ series is the first time I’ve used it.   I really love it ! 

Solo, solitary studio !

img_4204

Stepping back into the Studio again. I hope to finish the work for the wall & move on to the smaller prints for the desk & my market stall. It’s solitary work. Yesterday, the winner of the Bruny art prize made mention, in her acceptance speech, of the isolation of artists & the hours of solitary time spent working. It’s true. Life doing art can be a such a lonely old path.
I guess that’s why shared studio space & collaborations are a good idea.

Spatula rest

It’s very easy to get into a big inky mess at the inking bench. This week I created a rest for my ink spatulas.  Such a simple thing… I just screwed a piece of dowel to the table next to my ink slab.  It’s made such an incredible difference to the order, cleanliness & how I work at the inking table. 

Happy dance

Detail of “Forty Spots on the Rocks”


I began the actual printing of my Collagraph plates this week & after a week of burning the midnight oil, much experimenting & testing, proofing, puzzling & pondering…. I’m finally getting some clean un chaotic compositions & colours with my Bird on Rock series. I very nearly gave up on this idea so  I’m pretty ecstatic right now.

A slow & labour intensive journey toward the manifestation of the final prints that are worthy of showing is always the way with printmaking.  I always used to feel so frustrated & disappointed that my artist proofs were crap & now I accept that the APs are the learning, the testing, the figuring out. It can be a painful journey for a novice like me. Rome wasn’t built in a day !! Printmaking definitely teaches me patience. Oh…. the feeling when you get when you peel back the blankets on the press bed & voila ✨… There lies a beautiful print, with all areas resolved. Your heart sings, you whoop some crazy bird sounds madly into the air, you do a happy dance. That feeling is the reason I do printmaking. I’m so glad I persevered through all the “frustrations & disasters with this set of prints. It’s been in my head for a long time. 

I’m on a roll now …… I still have a lot of work to do but I’ll be proud & excited  to show my final resolved work in a months time at the Bruny Island Bird Festihttp://www.brunybirdfestival.org.au/val Woooohooooo

Nearly at ink stage ! 

So much has to happen with printmaking before the ink comes out.  

Collecting!  The collecting is an integral part of my printmaking. I’m forever collecting stuff for my plate making…..bits & bobs, scraps of this & that, botanical specimens etc. The foraging & collecting is a continual & ongoing process for me. 

Next…. The worst part for me is nutting out the scale & measurements of print area, paper size & borders ! 

Next ….. Design the bare bones of the composition & make the printing plates & stencils (my favourite bit). I never go overboard with the planning here & I leave heaps of things unresolved for spontaneity later on in the process. The ink has a mind of its own ! My plate making / stencil making takes weeks. 

collograph plate detail o


Next…..when the plates are complete its paper time. Tear all the paper down to size. A printmaker always tears the paper ! Soak the paper, blot the paper, stack & wrap the wet paper.  

Set up the press ….make the registration sheet & adjust the pressure on the press… Each plate needs a specific & ideal pressure. A task in itself but I’m getting better at it. Too much pressure can wreck the printing plate, not enough pressure & you get a crappy print.  

Then the ink comes out & colour mixing & testing begins. Ink is not like paint….& colour mixing is an art in itself. I use plate oil & transparent ink to achieve my colours. It’s tricky. I write down most of my colour recipes. I’ve still got so much to learn here. 

The actual printing (my other favourite bit) is where the magic happens ….. But that’s another story ! Better get to work …. I’m nearly at ink stage for my series “Bird on Rock” 

Cloudy Bay time out

I’m lucky enough to have some time away at another Artist’s studio space in a wonderful isolated location. It’s great to step away from my own reality for a week. 

I’ve been making some very simple torn paper mini collograph plates to print intaglio. It’s all about converting my rubbish (mostly cardboard packaging & plastics) into printing plates. It’s also all about the TEXTURE … The ink will seek out the tiniest of marks. The mini plates will form parts of landscape in larger works. Time away from my own reality has helped glean a bit of clarity & has pushed me through my creative block & out the other side!  Woo hooooooo!!! I know what I need to do.  I’m  ready for the ink when I get back to my own studio space. It’s been too long between prints !!

Flinders Island Cyanotypes

20160506-211748-76668636.jpg

20160506-211749-76669527.jpg

20160506-211748-76668894.jpg

20160506-211749-76669865.jpg

20160506-211749-76669138.jpg

I recently spent a wonderful week on on Flinders island with Cycle South. The trip was about cycling and art. I took my pasta machine with the idea of making some mini textural collograph plates and printing them on location with the pasta machine. However, with all the cycling & walking, time did not allow me to make & print the collographs whilst on the island. I’ll do these now that I’m back on Bruny. I did have 2 sessions of making some cyanotypes from found objects.

20160506-214040-78040796.jpg

Found a Handy little rock shelf out of the wind for drying 

20160506-214041-78041185.jpg

Young Tama made a print

20160506-214315-78195487.jpg

<img src=”https://josgreenroom.files.wordpress.com/2016/05/20160506-214315-78195871.jpg”


Pandanus and stoned Curlews – Queesland Dreaming (Part 2 – making the digital negatives)

Below are some thumbnails of the digital negatives that I’ve made for the Stoned Curlew/Pandanus work. I loathe sitting on the computer for any length of time. I would rather be in the studio getting inky. However, part of the Cyanotype process is creating the digital negatives and that means a bit of computer work. I am very ‘rustic’ about it and not very skilled nor scientific. I do it as quickly as possible without much fine tuning. For this particular type of imagery it’s fine to be a bit haphazard.  I don’t know photoshop well  and I just use it at very basic levels for creating my negatives. You can faff around for hours but in a nut shell, you basically need to de-saturate your image of any colour, invert it into its negative state and play with the brightness and contrast untill you have a clear cut black and white image with as few midtone areas as possible. Although mid-tones can lend themselves to different shades of blue in the final cyanotype – it’s a matter of experimenting with exposure times.  The grey areas can also be scratched into lightly on the negative transparency to remove some of the computer ink and allow more light to pass through during the cyanotype exposure.

I will also be making a couple more negatives of grasshopper imagery (we don’t want Mr Curlew to starve !),  a  collograph plate and  a drypoint on acetate plate to play with.  I figure the more paper stencils, printing plates and negatives I have on the go, the wider the scope for experimentation, which will mean more interesting  results – fingers crossed.

My printer decided to break down today so that has thrown a little spanner in the works as I can’t print the digital negatives onto the transparencies.   I’ll concentrate on the collograph and drypoint this week until I can get to town and get it sorted ! Bloody  technology !

Stay tuned for part 3  – The making of the collograph and the drypoint plates.

Pandanus & Stoned Curlews – Queensland dreaming (Part one – Digital stage….A work in Progress)

Part of my heart still lies in Queensland. I love the Pacific Ocean, the flora and fauna & the Queensland Sunshine. Seeing a friend’s holiday snaps on Insta took me back there in a blink of an eye.
With his permission I am using his photo of Pandanus & imagery of the Bush Stone Curlew bird to create an archival, handmade hybrid print. I’m probably aiming for a drypoint, collograph & cyanotype hybrid……but my process is very experimental, so who knows what the end result will be ! The journey is fun. Last night I played with stage one of my process – taking photos for making the digital negatives. I really like these digital images (they are by no means resolved – this is just the initial stage of my process that I am documenting). I tried some new ways of taking photos & I need to get my hands on an overhead projector & a turntable to further explore my ideas of capturing movement.  I’m finally working on possible ideas that have been seed stage in my head for a long time.  It’s great to be inspired by someone else’s photos from distant islands !  (Stay tuned for Part 2 – Creating the digital negatives.)

20160103-084151-31311580.jpg

20160103-084151-31311285.jpg

20160103-084151-31311522.jpg

20160103-084151-31311671.jpg

20160103-084151-31311625.jpg

20160103-090009-32409277.jpg

yes2

Jo Sculthorp experimental photograph stoned curlew

yes


Ideas for Cyanotypes – thinking out loud into cyberspace !!!

I’m playing with photographing moving plant specimens with the aim of capturing the movement and creating ideal digital negatives for my cyanotypes. After lots of experimentation with cyanotype, I
know only specific digital negatives are successful in the cyanotype process. I have a fairly good feel for what works for my process & what doesn’t. I’m attempting to move away from creating static images & would like to get the feeling of movement into the imagery at the digital negative stage of the process instead of during the cyanotype exposure stage of the process by use of the photogram method. Usually I move the objects during the sun exposure – but this has not always been successful. The idea to create the movement at the initial stage has been playing out in my head for a while & I think I’ve jumped a massive hurdle in figuring out the first step of the process (the photograph) this afternoon. Sometimes the printmaking process can be complex & I love those moments when the process falls into place in my head and I have some clarity about what I want to achieve and how I might get there. Tomorrow into the studio to see if my thinking processes ring true! I have to think in negative images & remind myself of the cyanotype mantra – “if it lets the light through, it will turn blue. If it blocks the light out, it will stay white” !!!

20151226-202354-73434732.jpg

20151226-202355-73435208.jpg

20151226-202353-73433668.jpg

20151226-202354-73434018.jpg

20151226-202354-73434365.jpg

20151226-205815-75495026.jpg

20151226-205814-75494762.jpg

Drypoint Monoprint workshop with Deb Wace

20150807-184020-67220453.jpg

I’ve recently made time in my life for my printmaking practice but after preparing the GreenRoom space for a flurry of activity, I felt a bit stuck. It’s been too long between prints. I thought learning a new technique would inspire me and give me some momentum! So……I’ve just completed 2 days of monoprint & drypoint Printmaking with Deb Wace.

I want to move away from precise mark-making & static images. I want to work in a free & spontaneous way. I want to create whimsical, interesting marks implying movement, depth & joy.

Deb’s generous sharing of ideas and teaching over the last few days has given me great inspiration, new methods of working and mark- making . My mind is bubbling over with ideas !

I chose to work with images from my childhood – photos of my sisters & I bouncing on trampolines when we young children. With a drypoint tool, I scratched a quick line sketch into the acetate based on the images in the photos.

20150807-191302-69182172.jpg
The drypoint image on the acetate is then inked in the usual intaglio manner and then ink on the surface of the acetate is manipulated by different means & with different tools to achieve the monoprint. The mark-making is unconstrained, quick & spontaneous. The resulting printed marks are very interesting & lend depth and movement to an otherwise static drypoint image.

20150807-193224-70344014.jpg
There are endless possibilities with monoprint and a huge scope for experimentation. It was a lot of fun playing with the drypoint images.

20150807-200614-72374447.jpg
Below are my favourite set of APs for the day. I used a grouting tool and a scrap piece of card to manipulate the ink & some small paper and thread stencils.
It’s titled “Cosmic Sisters”.

20150807-200822-72502832.jpg
Thank you Deb Wace for a wonderful workshop. Monoprint had opened up a whole new world of possibilities.

A little visitor in my Studio

This is Lotus.  She’s an 8 year old Artist from the Sunshine Coast, Queensland.  A while ago she visited me in my studio and we had a fantastic printmaking day together.  She chose to make her first intaglio print – a  collograph.  She was going to make an image of an Elephant’s butt !  (lol) but she decided to go with an image of  Black Cockatoo.  I decided on Tasmanian Bush Hen.   We thought we might do a print exchange and  make a set of matching prints, keeping one of each others.

I loved the excitement and witnessing Lotus’ astonishment when we peered under the press blankets to reveal successful prints.  What fun we had !  Lotus was so focused and into the process and she actually hid under the table when we pulled her first print in fear that it would not work out after all the hard work.  To our sheer delight we managed to make successful prints.   We were both so involved in the process that I forgot to take photos in the studio but here are our finished collograph prints.

Lotus collograph_wm

081_wm

Because the time in the studio was so long and intense we broke up the session with box sliding down the big hill high on the back paddock of Highwood and horse walking on the beach with Mowah and Bel.

Box sliding on Highwood - Lotus, Patrick and Jo           044

Miss Lotus and Mowah

Thanks Miss Lotus.  I hope we can do printmaking again together one day.


Bearded Sun Gods

Jo Sculthorp  Bearded Sun Gods collograph, lino print, scorch marks, rusted paper and gold leaf_wm


“As he turns towards the afternoon Sun, he shines like a bearded Sun God”

“Bearded Sun Gods”  Rusted and Scorched paper, drypoint print, lino print, gold leaf  (each print 450mm x 140mm)


Towards the Sun

TMAG_1_1

Working on the finishing touches  of my  piece “Bearded Sun Gods”  for this exhibition opening next Thursday night.   Gold leaf is so beautiful to work with and certainly adds a new dimension of light to works on paper.   Pictures of work will follow as soon as I have a moment.

Bookmaking for Shaun

In recent times, I felt incredibly  honoured to be asked by a good friend to make a handmade  Funeral Register book for family and friends to write their messages of love.     I made the  book with so much love and care,  using  April’s beautiful pencil drawing of Shaun and embossing each handmade page with a different Bruny Island gum leaf.  Rest in Peace beautiful Man.

154

More Cyanotype Wallhangings

I’ve set up a makeshift darkroom and I’m further exploring cyanotype printing – making use of digital negatives in combination with objects placed on my uv sensitive papers.   I’ve embossed each cyanotype and stitched them together as wall hangings.   I love working with cyanotype ….it  gets me outdoors – watching the weather and clouds …..waiting for the right moment to expose the print.   I’ve had a few  underexposed, pale prints due to my impatience, bad timing or an unexpected cloud sneaking in and  blocking the sun.   I’m getting a feel for what works and what doesn’t after much experimentation.  I have much more to explore and feel the  need to make some more larger contact frames.  I’m constantly collecting suitable objects to expose and now when I take a photo I think of how it would work as a digital negative and ultimately a cyanotype !!  Off to the studio today to mix more solution and prep some paper for further experiments.  I’m making a doll for the Uthando Project http://www.uthandoproject.org/   and I can use some of my experimental cyanotypes on fabric for her clothing.